Tuesday 20 January 2015

Seyal Gosht curry with Chapati recipe!

Happy 2015 to you blog buddies!

I trust you had a great Christmas and New Year and are all sticking to your new years resolutions? I'm betting that a fair few of you have taken up a dry January challenge, or decided to watch what you eat or get a bit more exercise ( judging by how busy my local gym is at the moment it seems like everybody is trying to lose those extra pounds put on over the holidays!)

With this in mind I thought I'd do something reasonably healthy for my first blog of 2015. I wouldn't say that the recipes I've done in this blog will make you shed blubber as you eat but I've made a dish that will satisfy a grumbling stomach and isn't loaded with fat or complex carbs. If there's one thing I cant stand it's bland, boring food that, while being good for your figure, does nothing for the tastebuds.
So, I've decided to do a good old fashioned curry. Now, I know what you're thinking. When you go fetch your favourite spicy treat from your local curry house you get it home and every tray has leaked its oil all over the bag it's difficult to see how curries can be remoteley healthy, but with good fresh ingredients and just a little effort on your part you can have your curry and eat it with a clear concience!

The only oil in this recipe is a couple of tablespoons at the start of the process to get things going. As I'm using mutton for my recipe you may also get a little fat from the meat in there as well,  if you're trying to cut out fat almost completely ( you shouldn't do really as your body needs a bit of fat to function properly) then you can trim the meat you're using to within an inch of its life, it won't have any impact on the flavour. You can use lamb if you prefer, or if you cant get hold of mutton.

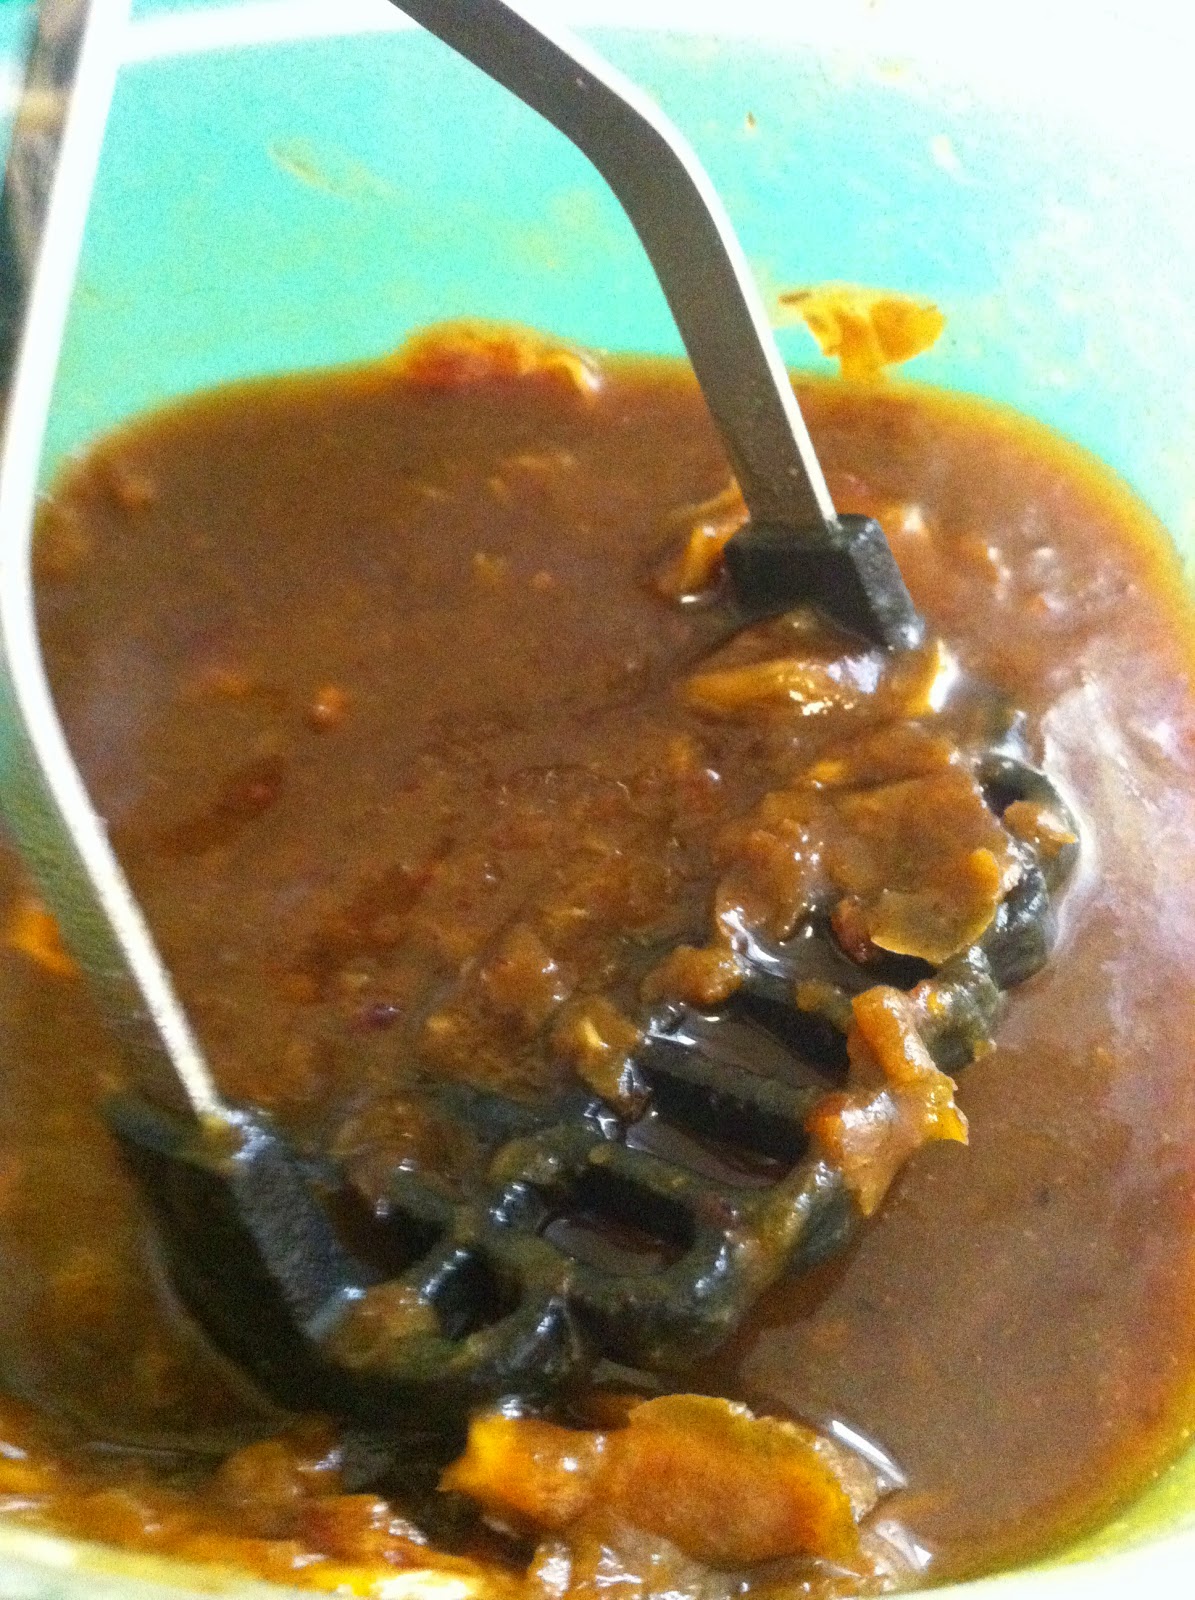
The method for this dish is really simple too, theres no browning of the meat or making curry bases before you start, It's just an easy double marinate then bung it all in the pot to slow cook. The only thing I will say is a bit of a let down for me is the photos I took of the finished curry with its accompanying chapati's, I'm a bit out of practice with the blog and try as I might I couldn't get the pictures to look anything more than just a photo of a curry. Boring pictures aside though, this is a really tasty dish so I decided to write it up anyway.

One more thing before we start, and thats the chapati's. I love making these simple Indian breads and they were probably the very first thing I ever cooked as a 6 year old, standing on an old wooden beer crate in front of the electric oven at my nan and grandad's flat in Walsall, putting the chapati's that me and my younger brother had helped to make straight onto the electric rings to cook, It's a vivid memory that without a doubt sparked my interest in all things of a culinary nature and my love of Asian food.
My Grandad was a lover of Indian foods and used to send me to Asian shops in Walsall with a list of exotic ingredients to buy. I'd give the list to the shopkeeper and he would know instantly that I was "India Bailey's grandson" I'd run back from the shops, usually with a 10p mix of sweets for myself  and sit and watch him apply these spices to pretty much everything he cooked! ( he also used to send me and my brother to the butchers to get a "bag of bones for the dog" which, along with the indian spices went into the pot to make the curry, the poor dog never got a look in!)

Well, that's enough reminising, lets get on with the recipe!

Mutton Seyal Gosht Curry (makes about 6 good portions.)

Equipment:

Food processor/blender. ( you can use a stick blender if that's all you've got, it'll just take a bit longer.)

3 Large plastic mixing bowls.

Large Cast Iron pot or "dutch pot" or large saucepan with lid.

Large frying pan.

Wooden spoon.

Ingredients:

6 mutton or lamb chops.

Approx 1kg of stewing mutton or lamb, bone in.( you can use boneless if you want but this will be around twice as expensive and you won't get the marrow from the bones which add a lovely richness to the curry.)

1 kg of brown onions. 

2 tins of chopped tomatoes.

400ml of set yoghurt, Greek style is good if you cant get Indian yoghurt.

Large bunch of fresh coriander.

Fresh chillies. ( I've used one scotch bonnet and one naga chilli but you can use whatever chillies you like. If you're going to use the usual fresh green chillies and you don't like it too hot then I'd use 2-3.)

Large piece of ginger ( about 2 thumbs in size.) peeled and finely chopped.

 
 4-5 garlic cloves, finely chopped.

1 large piece of cassia bark (sometimes called Chinese cinnamon) or 2 sticks of regular cinnamon.

2 whole blade mace.

4 bay leaves.

6 cardamon pods.

12 whole black peppercorns.

6 whole cloves.

4-5 teaspoons of coriander powder.

1 tablespoon of cumin powder, or whole cumin, ground in a pestle and mortar.

1 teaspoon of turmeric powder.

1 tablespoon of chilli powder. ( or you can use mild paprika if you don't want too much heat.)

1 teaspoon of salt.

2 tablespoons of vegetable oil.

4 tablespoons of water.

Method:

Roughly chop the onions and puree them in the food processor. Add a few at a time while the processor is running to get a really smooth puree.
 set aside in a bowl.


Now add the tinned tomatoes to the processor ( no need to wash it out first!) and blitz them also to a puree. Pour out into a separate bowl.


Next add the yoghurt, coriander, including the stalks, and the chillies to the processor and blitz until smooth.


Pour the yoghurt, coriander and chilli mixture into a large bowl and bung in the mutton pieces and chops.  Give this a good mix round so all of the meat is coated and pop into the fridge to marinate for at least an hour. ( I let mine marinate for around 3 hours.)

Heat half the veg oil in a frying pan over a medium heat and add the pureed onions. Cook gently for around 20 minutes, stirring from time to time, you don't want to colour the onions, just get rid of some of the moisture and the rawness of them.


Remove the cooked onion puree back into a bowl, give the frying pan a wipe and add the remaining oil. add the whole spices and gently fry for 2-3 minutes so they release their fragrant oils, then add the chopped ginger and garlic. after a couple of minutes add the ground spices and stir in the water until combined.


 Add the onion puree back into the frying pan, then the pureed tomatoes. Season with the salt.
Mix together well and cook for 5 minutes.

Leave this mixture to cool completely then add it to the marinating mutton. Mix together well and put back in the fridge to marinate again. You can leave it like this covered in the fridge overnight if you want to but I left it for around 3 hours.

Finally, get your large saucepan/cast iron pot on a medium high heat on the hob and bung in the whole contents of the bowl from the fridge. Give everything a good stir and after 5 minutes turn the heat down to low, pop the lid on and cook for 2 hours or so. You can cook it for longer if you want the meat to fall off the bone but I like it so it still has a bit of resistance to it.

When the curry is almost done you can make the chapatis:

Chapati recipe ( makes around 12 chapatis.)

Equipment:

Kitchen scales.

mixing bowl.

Rolling pin.

6-7" bowl to cut round.

Cast iron flat skillet or large frying pan.

Pastry board or clean work surface.  

Ingredients:

350g wholemeal flour.

1 good pinch of salt.

Approx 100ml of cold water.

2 tablespoons of clarified butter or Ghee or olive oil ( not extra virgin.)


Method:

 Add the salt to the flour and half of the water. Mix together and add the butter or oil. 
Press the dough together with your hands until you have a rough ball, you may need to add some more water.

Once you have a fairly smooth dough remove from the bowl and knead vigorously for 10 minutes until smooth, warm and elastic. 

Rest the dough in a cool place for 15 minutes.

Roll out the dough on a lightly floured surface with the rolling pin to about 3 mm thick.


Cut out your chapatis by placing a bowl on top ( I used a cereal bowl) and cutting round it.

You can gather up the remaining dough and roll out again to cut some more until you have about 10-12 chapatis ready to go.


Heat the skillet or frying pan to medium high and pop in the chapatis one at a time. I like to flip each one over a few times so they get nice and evenly coloured.

They will puff up slightly when they are almost done. Keep them warm in the oven whilst you finish the batch.

Serve them up warm ( you can brush each one on one side with a little butter or ghee if you like) alongside the curry!


There you go then. Sorry about the photos but I really did have to squeeze this recipe in whilst I was on my day off from work so didn't have time to make it look good.. Next time I'll be doing a lovely colourful winter pudding for you to try so the pictures will be a lot better!

If you are local to where I live in Cannock then please keep an eye out for a new menu launch at the Bank bar as I'm going to be revamping it soon, and if you haven't already then please "like" the Bank bar's face book page for some very interesting events coming up!

Until next time then friends!

Happy cooking!


Mat.


Thursday 4 December 2014

Mexican carnitas and Southern Biscuits recipe.

Hi there fellow foodies.

Welcome back to my recipe blog.

Sorry it's been so long since my last blog, I've been off gallivanting half way across the world in New York getting some inspiration ( more about that later!) and also settling into my new job as Head Chef at the Bank bar in Cannock, where there will hopefully be big things happening in the new year.

So, just a little about my trip to New York then before we press on with this weeks recipes. If you've ever been yourself you will know just how much of a foodies paradise it is, as well as a fantastic place for sightseeing and shopping. My brother Sandy and I spent 6 days there and ate everything from oysters to genuine BBQ food, dollar slices of pizza ( the best pizza either of us had ever eaten!) to Twinkies, American chocolate bars to falaffel from food trucks and plenty of doughnuts and pretzels.
me and the pit master at Dinosaurs
By far my favourite place of the trip though was dinosaurs BBQ (click on the link to see the menu),which was a short taxi ride away from where we were staying in Harlem. A lot of my barbeque mates will say that New York isn't really the home of this type of cooking but Dinosaurs was the real deal. Owned by a lovely southern gent called Steven who I got to have a good chat with. They use genuine wood fired smokers, which we managed to
get a look at with the accompaniment of the pit master who was more than happy to show us round the kitchen, and a proper menu of southern dishes from fried green tomatoes to pulled pork and smoked brisket, bronzed catfish ( which Sandy said was the best meal he had ever eaten!) to some fantastic homemade puddings.
They also had a great selection of craft beer, or real ale as we call them in England, which was the case in a lot of bars and restaurants we went in. I did take a few photos in there with a view to putting them in the blog but they all came out a bit too dark to use, take my word for it though, the food looked and tasted absolutely divine. If you are planning a trip to New York then I can heartily recommend it!

Anyway, I think that's enough about my adventures stateside for now, If I bump into you sometime soon then I will regale you with other stories from our trip to the big apple!

So, I bet you're thinking that this weeks recipe will be an all American affair with a New york flavour?
Well, erm, not really! There is a nod to our holiday with a southern biscuits recipe, which we had in a fast food place along with southern fried shrimp. The place is called Popeye's and it's a kind of KFC restaurant chain, nothing fancy but it was cheap and over the road from the Harlem YMCA, where we were staying.
The other recipe is for Carnitas, a Mexican pulled pork that is normally served in tacos at roadside cafes all over South America. I've simply combined the two recipes to come up with a Tex-Mex style dish of my own!
I've used my slow cooker for the Carnitas as its around this time of year I like to fire it up to make comforting warming stews and the like. If you don't have a slow cooker ( I'm guessing a lot of you have got one but rarely use it!) then it can be done in the oven in a pot on a very low temperature, I would say about 80 degrees c for about the same amount of time.

Okay, lets get started.

Slow Cooker Mexican Carnitas Recipe. 

Equipment:

Slow cooker ( mine is a 3 litre one.)

Plastic measuring jug.

Vegetable peeler. 

Hand blender.

Frying pan.

Ingredients:

1 bone in shoulder of pork, rind removed, about 4lb in weight.

1 lime juiced and zested.

1 orange juiced and zested.

2 red onions, finely sliced.

2-3 fresh hot chillies, sliced.

Half a  jar of mild jalapeno chillies.

1 jar of piquillo peppers. ( if you can't find these in jars then you can use whatever chillies you want. fresh, dried or pickled.)

1 tablespoon of dried oregano. 

1 tablespoon cumin powder.

1 tablespoon hot paprika. 

1 tablespoon of salt.

Spice rub mix ( not shown in picture, this is a blend of various spices I have ground together to make a rub, to be honest I can't remember what is in there as I made it a while ago and just kind of made it up. If you don't fancy making a spice rub then there are loads available these days in supermarkets but why not give it a go yourself? it's easy to do and you can get exactly the heat, sweetness, saltiness, and fragrance you want).

2-3 250g packs of lard. ( don't be put off by the amount of lard used in the recipe, the meat won't soak it up, the main function of it is to keep all of the moisture in the meat. It's a traditional French way of cooking very slowly and gently called confit.)

Method:

Cut the pork into two pieces around the bone so it will fit nice and snugly in the slow cooker. 


Put the pork in a mixing bowl with the orange and lime juices and give it a good rub all over, then in another bowl rub the pork all over with the spice rub. You can leave it like this to marinate if you like, covered in the fridge for up to 12 hours but the slow cooking method means you won't lose any flavour if you don't want to marinate it.


Add the chillies, onions, spices and salt along with the orange and lime juices and their zest to the bottom of the slow cooker.


Then sit the pork on top. press everything down gently.


Melt the lard in a plastic measuring jug in the microwave and pour it over the pork in the slow cooker. You want everything to be completely covered with the lard so you may have to press down on the pork with a wooden spoon to make sure it doesn't stick up through the lard.


Set the slow cooker to auto and put the lid on. If your slow cooker doesn't have an auto setting then put it on high for the first hour, then turn down to low. If you are using the oven method start off at around 150 degrees c then turn the oven down as low as it will go after about 1 hour.
Cook the pork for around 7-8 hours, depending on how powerful the slow cooker is. You will know when it is done when you can easily pull the bone out of the pork.

The bone should come out easily and cleanly.


 Gently lift the pork out of the slow cooker. be careful with it as it will literally fall apart. Try not to disturb the veg and lard left in the slow cooker as you're going to need this later. Put the cooked pork in a sieve over a bowl to drain off any remaining lard and to cool slightly.
Put whats left in the slow cooker somewhere cool to separate and for the lard left in there to firm up. Meanwhile you can pull the pork. The absolute best way to do this is with your hands as you don't want to shred it right down.


When you have pulled the pork you can put it in a container in the fridge whilst the lard in the slow cooker cools and firms up. It'll take an hour or so, so now's probably a good time to make the biscuits. ( recipe for those follows below this recipe.)

When the lard in the slow cooker has cooled and firmed up go in with a spoon and scoop out as much of it as you can but try and keep as much of the veg in the bottom as possible. This is much easier to do when the lard has cooled as you can see it better.


Now that the lard is removed you can blitz whats left with the hand blender. ( don't worry too much about getting every last bit of lard out as there will be a lot of flavour in it, and you need a little bit for the next step.)

Don't throw the lard away as it can be used again next time you make this recipe or if you want to confit anything else in the future. It'll keep for months in the fridge.


Heat a frying pan to high on the stove and put in the blitzed sauce. Wait until the sauce is bubbling then throw in the pulled pork. Gently move the pork around in the sauce so you don't break it up too much and so it cooks evenly. Fry for around 5 minutes.


Your Carnitas are now ready to serve! You can use it to fill taco's, make burritos, or simply in a wrap with some salsa and grated cheese. You could even serve it as a sandwich or on a lightly toasted burger bun.

Southern Biscuits recipe: (makes around 12-14 biscuits.)

Equipment:

Large mixing bowl.

Rolling pin.

Kitchen scales.

Flat baking sheet.

Greaseproof paper or cooking liner. 

Cooling rack.

Pastry brush.

3 inch fluted pastry cutter.


Ingredients:

225g self raising flour.

 175g plain flour.

50g coarse pollenta or cornmeal.

1 tablespoon of baking powder.

Half a teaspoon of bicarbonate of soda.

Half a teaspoon of caster sugar.

225g unsalted butter, cubed and chilled.

200ml buttermilk. ( available in most large supermarkets.)

Method:

Pre heat oven to 200 degrees c/ gas mark 6.

Mix all of the dry ingredients together in the mixing bowl. Make sure there are no lumps.

Add the cubed chilled butter and rub into the dry ingredients with your fingertips to make a rough breadcrumb consistency.


Now add the buttermilk and mix together to get a rough dough. Don't overwork it as this will make the biscuits chewy rather than crumbly. You should be able to see little flecks of butter throughout the dough. 


On a floured work surface or pastry board roll out the dough to about 1 inch thickness.

 Cut out as many as you can with the pastry cutter. Don't twist the pastry cutter as this will prevent them from rising.
Gently lift off each biscuit and put it on the flat baking tray, lined with greaseproof or cooking liner.


When you have got as many as you can out of the first roll gather together the remaining dough, roll out again and cut some more.


Brush each biscuit with the remaining buttermilk, or a little milk if you don't have any buttermilk left over.


Bake on the middle shelf of the oven for 12-15 minutes until well risen and golden brown on top.

Put on a cooling rack until you are ready to fill them with the Carnitas. Best served just warm.


I made a very simple salsa to serve with mine. Its just a tin of chopped tomatoes, sieved of the juice, some chopped fresh coriander, finely diced onion, chopped fresh chilli, splash of vinegar, splash of olive oil, pinch of sugar and salt and pepper.


That's it then for this week, hope you enjoyed it and have a go at making it yourself. I'll be doing some more interesting slow cooker recipes over the next few weeks, although you may have to wait a while for the next blog as this is a very busy time of year for chefs and I'm going to be doing a lot of Christmas dinners at work!

Until the next time then blog buddies,


Happy cooking!


Mat.

Wednesday 29 October 2014

Rum and Walnut Sticky Toffee Pudding With Salted Caramel Sauce Recipe.

Greetings lovely people!

Welcome back to my recipe blog.

It's been a few weeks since my last blog as I've been busy getting used to my new job. I'm not going to say too much about it now as I am still getting to grips with it but watch this space for developments!

I was going to do a recipe for you a couple of weeks ago. A fantastic traditional British steamed suet pudding called "Sussex pond pudding"which calls for steaming a whole lemon inside a suet crust  but I tried to make it without a proper sized pudding bowl and the results weren't up to my usual standards. It actually came out tasting divine, but looked a mess so it's a recipe I'll be coming back to over the winter as it's a proper "stick to your ribs" winter pudding.

This weeks recipe is also for a good old fashioned British pud, or so you would think!There are many claims to it's origin but, in the grand scheme of things, it's not that old a recipe. The earliest mention of it I could find on the web was from 1907, a veritable young upstart when compared to some of the great traditional British puddings.

Be that as it may, it's fast become a go-to dessert when Autumn turns to Winter and ones body craves a good sweet stodgy pudding to keep the chills out, served with cream, custard or even ice cream it's a delicious belt loosener for the end of a meal and even a lot of people who don't usually do desserts will make an exception for good old sticky toffee pudding!

The recipe I've done for you sticks pretty closely to standard recipes with just a couple of additions, dark rum just because I like a bit of rum in a pud, and its burnt sugar/slight liquorice flavour adds another layer of deliciousness to what is already a fantastic pudding.
I've salted the caramel sauce a little because, basically, I love salted caramel!

I've also added some walnut halves, roughly crushed just between my hands, as I like the woody bitterness they bring to the pudding, as well as a glorious bit of crunch. 

You don't have to add any of these extra ingredients if you're not keen but I do urge you to try the recipe with them in as the finished pudding is just that bit more extra special with them included.

So, lets get on with it then!

Rum and Walnut Sticky Toffee Pudding With Salted Caramel Sauce ( makes about 6 hearty portions or 8 normal portions.)


Equipment:

10"x6"x3" deep gratin dish. ( don't use a metal tin as you want the ceramic of the dish to warm up slowly, a metal tin will transfer the heat too quickly and the pudding will be overdone around the edges and not cooked through in the middle.)

Medium saucepan.

Large mixing bowl.

Medium plastic tub.

Wooden spoon.

Standard potato masher. 

Wooden or metal skewer.

Baking tray, large enough to put the gratin dish on.

Ingredients: (for the cake batter.)

175g of stoned dates.
 1 and a half teaspoons of bicarbonate of soda.  

250ml of boiling water.

50ml miniature of dark rum.

60g of butter.

80g of dark muscovado sugar.

80g of caster sugar, or, as I've used, 40g of caster sugar and 40g of  gur shakar ( the Indian raw sugar I've used before in other recipes.)

2 medium eggs, beaten.

175g of plain flour.

1 teaspoon of baking powder.

75g of walnut halves, lightly crushed so you get different sized pieces.


Ingredients: ( for the sauce.)

115g of butter.
 
75g of caster sugar.

40g of dark muscovado sugar.

140ml of double cream.
 half a teaspoon of table salt.  


Method:

First of all, make the sauce.

Put all of the ingredients for the sauce in your medium saucepan and set on a low heat on the stove.

Once all of the ingredients have melted together give them a good old stir and turn up the heat to high. 

Bring to a boil and cook for about 4 minutes, until the sauce coats the back of a spoon. Add the table salt and have a taste. You should get the rich buttery sweet taste followed by a salty tang right at the end. Don't be tempted to add more salt as its very difficult to bring the sauce back from an over salting! remove from the heat and set aside.

  Put about a third of the sauce in the bottom of the gratin dish and stick it in the freezer for 10 minutes, or the fridge for half an hour, whilst you get on with making the batter for the cake.


 Put the dates in a plastic tub and pour on the rum. Boil your kettle and add 250ml of boiling water to the dates, along with 1 teaspoon of the bicarbonate of soda. 

Leave the dates to soak while you continue with the rest of the batter mix.

You can now pre heat your oven to 180 degrees c/ gas mask 4.


In your mixing bowl cream the butter and sugars together until light and fluffy.


Then add a little of the beaten eggs. Mix together till smooth, then add a bit more of the eggs. repeat until all of the mixture is combined. ( don't worry if it looks like it's going to split as when you add the flour in the next step it'll all come together.


Add the flour, the baking powder and the other half a teaspoon of bicarbonate of soda and mix together well to get a smooth lump free batter.


Your dates should now be softened enough in the boiled water so go in with the potato masher and give them a bit of a mash. You can really go at it if you like to get a smooth puree but I like to leave it a little lumpy so when the pudding is finished you get a nice variation in textures.


Add the mashed dates, with the water, to the batter and stir together with the wooden spoon to get a good pourable batter mix.


 Finally, add the crushed walnuts and mix in.


Now, get the gratin dish out of the freezer or fridge and pour the batter on top of the sauce in the bottom. 

Put the gratin dish on the metal baking tray and bake in the bottom of the oven for around 40 minutes, maybe a little less, depending on your oven. The cake should be properly risen all over with the sides coming up a little more than the centre. It should also be golden brown and shiny on top.


Turn the oven off and fire up your grill. 

Pierce the cake all over, right to the bottom, with a skewer, then pour over the remaining sauce from the saucepan. If the sauce has thickened up too much then give it a bit of a warm through on the stove before pouring over the cake.


Pop the cake under the grill, just for a couple of minutes. keep an eye on it so it doesn't burn. When the sauce starts gently bubbling remove it from the grill and leave to cool slightly before portioning up and serving.


I've served mine simply with a splosh of double cream, but you can try it with ice cream or custard, whatever you prefer!


There you go then folks, another recipe done! 

Thanks for all your continued support in my blog endeavours, if you have any comments or photos of my recipes you've tried then please share them with me on Twitter @matsdachef, on instagram themat_d or on facebook. I'll try and get another recipe up in a couple of weeks for you.

Until next time then blog buddies,


Happy cooking!


Mat.