 Hi there fellow foodies.
Welcome back to my recipe blog.
Sorry it's been so long since my last blog, I've been off gallivanting half way across the world in New York getting some inspiration ( more about that later!) and also settling into my new job as Head Chef at the Bank bar in Cannock, where there will hopefully be big things happening in the new year.So, just a little about my trip to New York then before we press on with this weeks recipes. If you've ever been yourself you will know just how much of a foodies paradise it is, as well as a fantastic place for sightseeing and shopping. My brother Sandy and I spent 6 days there and ate everything from oysters to genuine BBQ food, dollar slices of pizza ( the best pizza either of us had ever eaten!) to Twinkies, American chocolate bars to falaffel from food trucks and plenty of doughnuts and pretzels.
 |
| me and the pit master at Dinosaurs |
get a look at with the accompaniment of the pit master who was more than happy to show us round the kitchen, and a proper menu of southern dishes from fried green tomatoes to pulled pork and smoked brisket, bronzed catfish ( which Sandy said was the best meal he had ever eaten!) to some fantastic homemade puddings.
They also had a great selection of craft beer, or real ale as we call them in England, which was the case in a lot of bars and restaurants we went in. I did take a few photos in there with a view to putting them in the blog but they all came out a bit too dark to use, take my word for it though, the food looked and tasted absolutely divine. If you are planning a trip to New York then I can heartily recommend it!
Anyway, I think that's enough about my adventures stateside for now, If I bump into you sometime soon then I will regale you with other stories from our trip to the big apple!
So, I bet you're thinking that this weeks recipe will be an all American affair with a New york flavour?
Well, erm, not really! There is a nod to our holiday with a southern biscuits recipe, which we had in a fast food place along with southern fried shrimp. The place is called Popeye's and it's a kind of KFC restaurant chain, nothing fancy but it was cheap and over the road from the Harlem YMCA, where we were staying.
The other recipe is for Carnitas, a Mexican pulled pork that is normally served in tacos at roadside cafes all over South America. I've simply combined the two recipes to come up with a Tex-Mex style dish of my own!
I've used my slow cooker for the Carnitas as its around this time of year I like to fire it up to make comforting warming stews and the like. If you don't have a slow cooker ( I'm guessing a lot of you have got one but rarely use it!) then it can be done in the oven in a pot on a very low temperature, I would say about 80 degrees c for about the same amount of time.
Okay, lets get started.
Slow Cooker Mexican Carnitas Recipe.
Equipment:
Slow cooker ( mine is a 3 litre one.)Plastic measuring jug.
Vegetable peeler.
Hand blender.
Frying pan.
 Ingredients:
1 bone in shoulder of pork, rind removed, about 4lb in weight.1 lime juiced and zested.
1 orange juiced and zested.
2 red onions, finely sliced.
2-3 fresh hot chillies, sliced.
Half a jar of mild jalapeno chillies.
1 jar of piquillo peppers. ( if you can't find these in jars then you can use whatever chillies you want. fresh, dried or pickled.)
1 tablespoon of dried oregano.
1 tablespoon cumin powder.
1 tablespoon hot paprika.
1 tablespoon of salt.
Spice rub mix ( not shown in picture, this is a blend of various spices I have ground together to make a rub, to be honest I can't remember what is in there as I made it a while ago and just kind of made it up. If you don't fancy making a spice rub then there are loads available these days in supermarkets but why not give it a go yourself? it's easy to do and you can get exactly the heat, sweetness, saltiness, and fragrance you want).
2-3 250g packs of lard. ( don't be put off by the amount of lard used in the recipe, the meat won't soak it up, the main function of it is to keep all of the moisture in the meat. It's a traditional French way of cooking very slowly and gently called confit.)
Method:
 Cut the pork into two pieces around the bone so it will fit nice and snugly in the slow cooker.
Put the pork in a mixing bowl with the orange and lime juices and give it a good rub all over, then in another bowl rub the pork all over with the spice rub. You can leave it like this to marinate if you like, covered in the fridge for up to 12 hours but the slow cooking method means you won't lose any flavour if you don't want to marinate it.

Add the chillies, onions, spices and salt along with the orange and lime juices and their zest to the bottom of the slow cooker.
Then sit the pork on top. press everything down gently.


Melt the lard in a plastic measuring jug in the microwave and pour it over the pork in the slow cooker. You want everything to be completely covered with the lard so you may have to press down on the pork with a wooden spoon to make sure it doesn't stick up through the lard.
Set the slow cooker to auto and put the lid on. If your slow cooker doesn't have an auto setting then put it on high for the first hour, then turn down to low. If you are using the oven method start off at around 150 degrees c then turn the oven down as low as it will go after about 1 hour.
 Cook the pork for around 7-8 hours, depending on how powerful the slow cooker is. You will know when it is done when you can easily pull the bone out of the pork.
Gently lift the pork out of the slow cooker. be careful with it as it will literally fall apart. Try not to disturb the veg and lard left in the slow cooker as you're going to need this later. Put the cooked pork in a sieve over a bowl to drain off any remaining lard and to cool slightly.
Put whats left in the slow cooker somewhere cool to separate and for the lard left in there to firm up. Meanwhile you can pull the pork. The absolute best way to do this is with your hands as you don't want to shred it right down.

When you have pulled the pork you can put it in a container in the fridge whilst the lard in the slow cooker cools and firms up. It'll take an hour or so, so now's probably a good time to make the biscuits. ( recipe for those follows below this recipe.)
 When the lard in the slow cooker has cooled and firmed up go in with a spoon and scoop out as much of it as you can but try and keep as much of the veg in the bottom as possible. This is much easier to do when the lard has cooled as you can see it better.
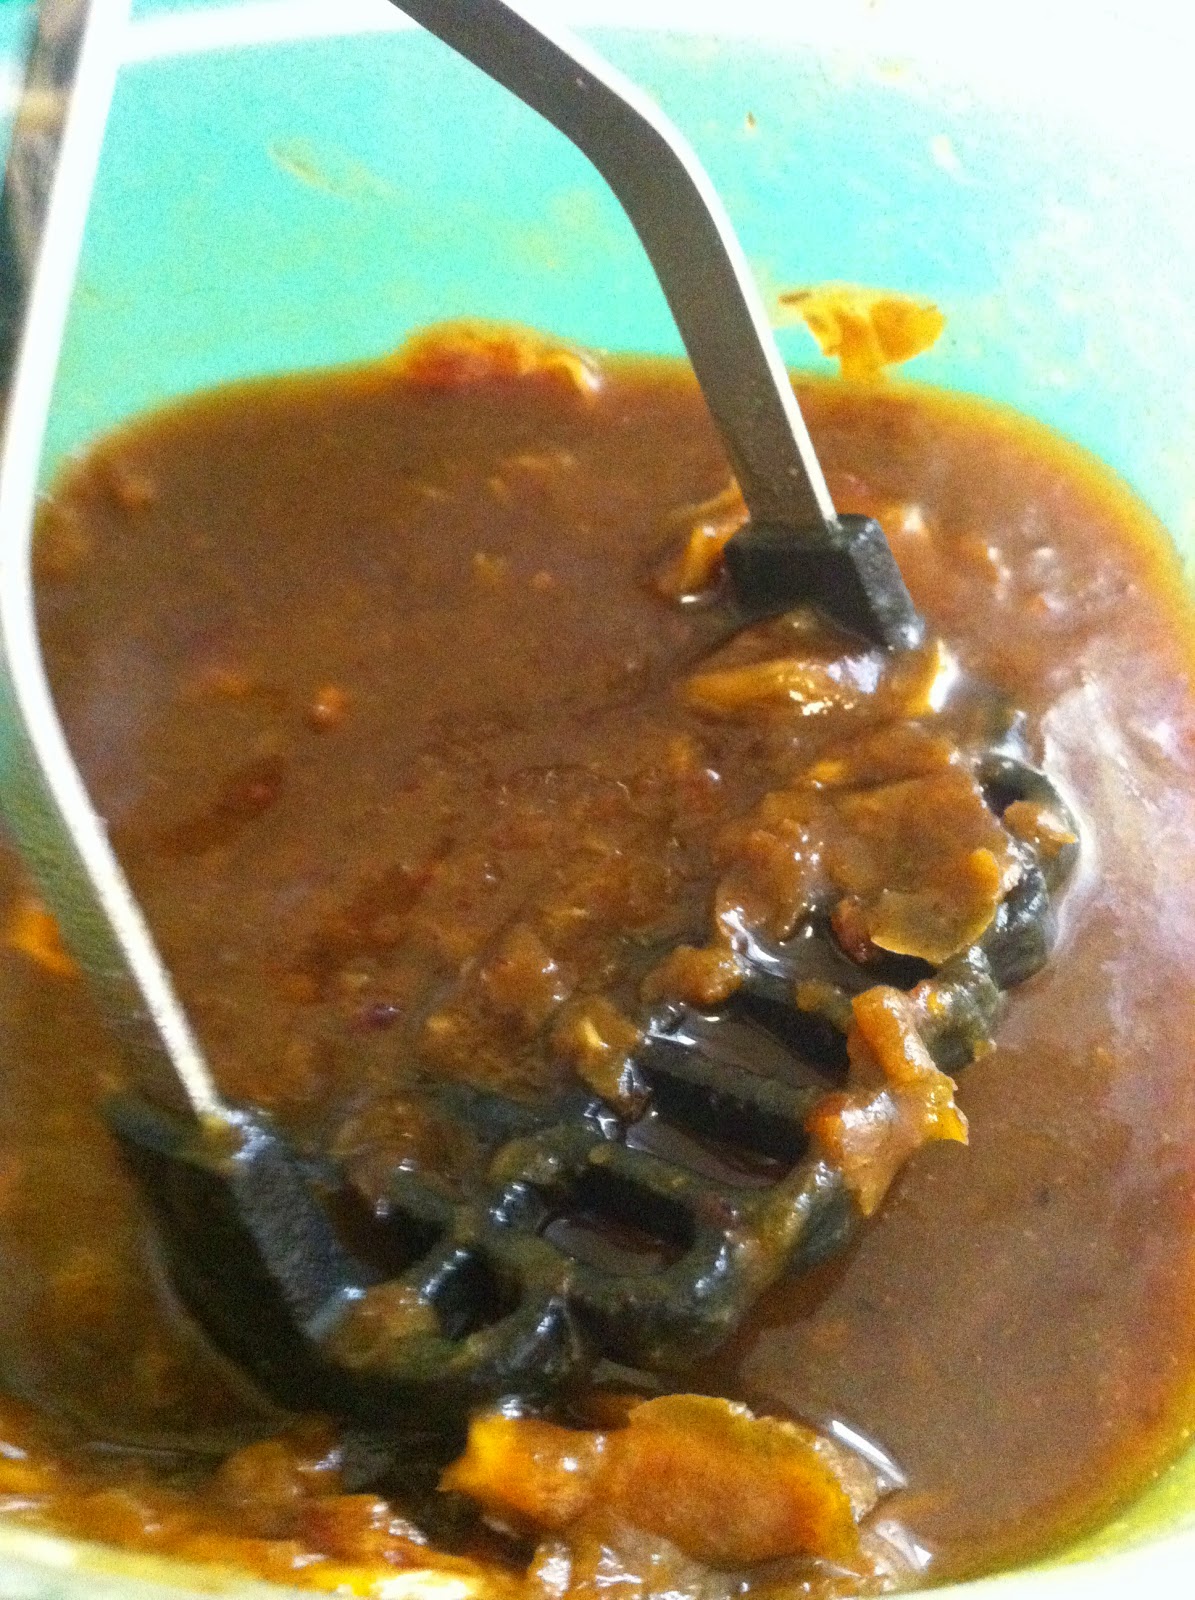
 Now that the lard is removed you can blitz whats left with the hand blender. ( don't worry too much about getting every last bit of lard out as there will be a lot of flavour in it, and you need a little bit for the next step.)
Don't throw the lard away as it can be used again next time you make this recipe or if you want to confit anything else in the future. It'll keep for months in the fridge.
 Heat a frying pan to high on the stove and put in the blitzed sauce. Wait until the sauce is bubbling then throw in the pulled pork. Gently move the pork around in the sauce so you don't break it up too much and so it cooks evenly. Fry for around 5 minutes.

Your Carnitas are now ready to serve! You can use it to fill taco's, make burritos, or simply in a wrap with some salsa and grated cheese. You could even serve it as a sandwich or on a lightly toasted burger bun.
Southern Biscuits recipe: (makes around 12-14 biscuits.)
Equipment:
Large mixing bowl.Rolling pin.
Kitchen scales.
Flat baking sheet.
Greaseproof paper or cooking liner.
Cooling rack.
Pastry brush.
3 inch fluted pastry cutter.
Ingredients:
 225g self raising flour.
175g plain flour.
50g coarse pollenta or cornmeal.
1 tablespoon of baking powder.
Half a teaspoon of bicarbonate of soda.
Half a teaspoon of caster sugar.
225g unsalted butter, cubed and chilled.
200ml buttermilk. ( available in most large supermarkets.)
Method:
 Pre heat oven to 200 degrees c/ gas mark 6.
Mix all of the dry ingredients together in the mixing bowl. Make sure there are no lumps.
Add the cubed chilled butter and rub into the dry ingredients with your fingertips to make a rough breadcrumb consistency.

 Now add the buttermilk and mix together to get a rough dough. Don't overwork it as this will make the biscuits chewy rather than crumbly. You should be able to see little flecks of butter throughout the dough.
  On a floured work surface or pastry board roll out the dough to about 1 inch thickness.

 When you have got as many as you can out of the first roll gather together the remaining dough, roll out again and cut some more.

Brush each biscuit with the remaining buttermilk, or a little milk if you don't have any buttermilk left over.

Put on a cooling rack until you are ready to fill them with the Carnitas. Best served just warm.

That's it then for this week, hope you enjoyed it and have a go at making it yourself. I'll be doing some more interesting slow cooker recipes over the next few weeks, although you may have to wait a while for the next blog as this is a very busy time of year for chefs and I'm going to be doing a lot of Christmas dinners at work!
 Until the next time then blog buddies,


